This post contains affiliate links. If you buy through them, we may earn a commission at no extra cost to you. We research every pick from manufacturer specs, independent testing and verified owner reviews — read how we chose below.
That musty smell is a measurement, not a personality trait
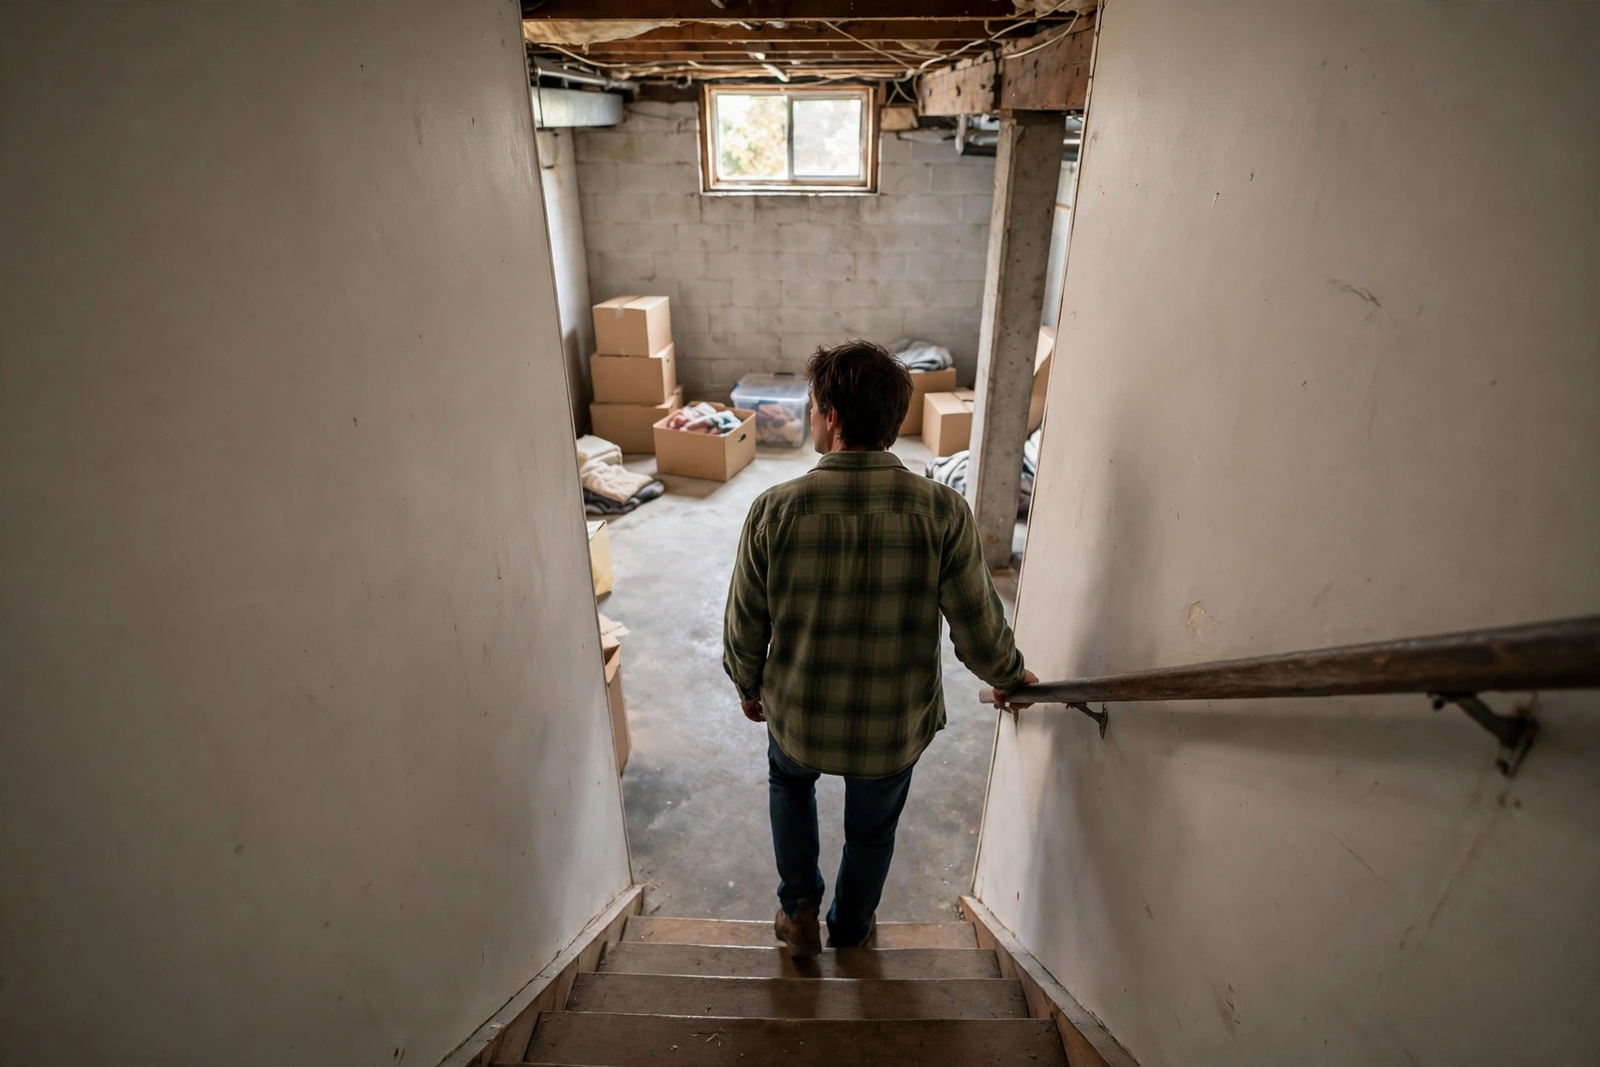
Every damp basement announces itself the same way: the musty smell on the stairs, cardboard boxes that go soft, a white chalky bloom on the concrete, tools that rust in a room that never gets wet. Homeowners treat it as what basements just are. It isn’t. It’s a number — relative humidity — sitting above 60% for weeks at a time, and at that level mold doesn’t need a leak to grow. It grows on the air itself.
The good news: a damp basement is one of the most fixable problems in a house, and the fix has an order. Measure first. Stop the water that’s coming in from outside. Then — and only then — buy the dehumidifier, sized to the room you actually have. This guide walks that order step by step, with the exact targets the EPA publishes and the sizing table the manufacturers hope you’ll skip. If your basement work happens on the same weekend pass as our Fall Home Maintenance Checklist — gutters, grading, exterior water — you’re already doing half of this article outdoors.
How we chose: The dehumidifiers and tools below were selected from manufacturer specifications, independent roundups and tester reviews (Bob Vila, Sylvane, Wirecutter-lineage roundups and specialist dehumidifier trackers), and patterns in verified owner reviews. We don’t claim hands-on testing we didn’t do. Capacity figures are quoted with their test standard attached — AHAM, DOE or saturation — because in this category the standard is the story. Prices are street ranges checked in October 2026.
Watch the guide
The system at a glance
| Step | Job | Tool |
|---|---|---|
| 1. Measure | Know your real number, in the worst corner | ThermoPro TP55 Hygrometer (~$15) |
| 2. Stop the source | Gutters, downspouts, grading, vents | Mostly free — see the checklist below |
| 3. Dry it — permanent | Large, wet, or crawl-space basements | AlorAir Sentinel HDi90 ⭐ (Impact hero) |
| 3. Dry it — portable | Finished basements, bucket or gravity drain | Frigidaire 50-Pint · Hisense 50-Pint · hOmeLabs 50 with Pump |
| 4. Clean up | Small mold patches, safely | Concrobium Mold Control (see safety box) |
| 5. Keep it dry | Storage habits + a weekly number check | The free tracker chart (PDF) |
Grab the free printable: our Basement Humidity Sizing & Tracker Chart (PDF) has the sizing table and a 7-day log.
Step 1 — Measure before you buy anything
A dehumidifier’s own dial reads the air at the machine — usually the driest spot in the room, because the machine just dried it. The corner behind the water heater can be running 10 points higher, and that’s the corner where mold starts.
So the first purchase in this guide costs about fifteen dollars: a standalone hygrometer, placed where the problem lives.
ThermoPro TP55 Digital Hygrometer
A 4-inch touchscreen monitor that reads temperature and humidity every 10 seconds, accurate to about ±2–3% RH — household-grade, and plenty for the decision you’re making. It keeps 24-hour and all-time high/low records, which is the feature that matters here: you’re not chasing one reading, you’re learning whether your basement lives at 55% or spikes to 72% after every rain. Table stand, magnetic back, or wall mount; runs about a year on two AAAs.
The 7-day protocol: put it in the dampest corner, at about waist height, away from the dehumidifier and any door. Write down the morning and evening numbers for a week — the tracker chart in our free PDF is built for exactly this. Then decide:
- Stays under 50%: you don’t have a humidity problem, you have a smell in one spot. Go to Step 4 for that spot and skip the dehumidifier.
- Lives at 50–60%: a portable dehumidifier (Step 3B) will hold it, once Step 2 is done.
- Lives above 60%, or spikes hard after rain: you have a source problem and a drying problem. Step 2 is not optional, and size up in Step 3.
Honest trade-off: the TP55 is a spot reader, not an app-connected data logger. If you want alerts on your phone when the basement spikes, Wi-Fi loggers exist for more money — but for sizing a dehumidifier once, this is the right tool.
Step 2 — Stop the water at the source (mostly free)
A dehumidifier removes moisture from air. It does not fix water coming through a wall, and a unit fighting an active source runs forever, never reaches its target, and dies young. Every source below is cheaper than the smallest dehumidifier in Step 3:
- Gutters overflowing pour roof water directly against the foundation. Clean them — it’s already on the fall checklist — and watch them in a heavy rain.
- Downspouts dumping at the wall are the single most common cause. Extend them so water discharges at least 6 feet from the foundation.
- Grading sloping toward the house sends yard water to the same place. Soil should fall away from the foundation; even a modest re-grade of the first few feet changes basement readings.
- The dryer venting indoors (or a bathroom vent that ends in the basement) pumps gallons of water vapor into the room every week. Both must vent outside.
- An open sump pit or bare-earth crawl space is a permanent evaporation source. A fitted sump lid and a plastic vapor barrier over bare earth are cheap, permanent cuts.
- Uninsulated cold-water pipes sweat condensation all summer. Foam pipe sleeves cost pennies per foot.
Do this step first and re-measure for a few days. Many “I need a bigger dehumidifier” basements turn into ordinary 50-pint basements once the downspouts move.
Safety box — mold you should not DIY. The EPA’s guidance is the line we follow: a mold patch smaller than about 10 square feet (roughly a 3×3 ft area) is a reasonable DIY cleanup once the moisture is fixed. Larger areas, mold inside HVAC ducts, or any growth after sewage/contaminated water flooding is a professional remediation job — and no dehumidifier “kills” existing mold. Dehumidifiers prevent it by removing the conditions. Anything already growing has to be physically cleaned (Step 4) or removed.
Step 3A — The permanent fix: AlorAir Sentinel HDi90 ⭐
For a large, wet, unfinished basement or a crawl space, the portable-with-a-bucket model is the wrong shape of solution: the bucket fills, the unit shuts off, and humidity wins every weekend you’re away. The permanent answer is a unit built to be installed, plumbed to a drain, and forgotten.
The AlorAir Sentinel HDi90 is that unit — and it’s this guide’s hero. Its honest capacity is 90 pints per day at AHAM conditions (80°F, 60% RH), covering up to 2,600 square feet by the manufacturer’s rating. You’ll see “198 pints” in big type on its listings: that’s the saturation figure (90°F, 90% RH — a steam room, not your basement). Both numbers are real; only one describes your house, and it’s the 90.
What makes it a system instead of an appliance:
- Built-in condensate pump that lifts water up to 14.7 feet — it drains uphill to a sink or sump, so placement is free and running is continuous. In Bob Vila’s basement test, the HDi90 pulled a 65% RH basement down and held 45–50%, and its pump lifted condensate 9 feet to an elevated drain without trouble.
- Cold-basement operation: automatic defrost and a working range down to 33.8°F. Standard portables frost and fade in cold basements; this class of unit is built for them.
- Energy Star efficiency at 2.69 L/kWh with 210 CFM airflow — for a machine that may run all summer, the efficiency figure is a monthly-bill figure.
- Corrosion-protected coils (AlorAir’s Rare Earth Alloy Tube Evaporator) and a long limited warranty — confirm the current term on the product page at purchase; AlorAir lists up to 6 years for this family.
Set it to 45–50% and it cycles on its own humidistat, restarts itself after a power outage, and asks for nothing but a filter check.
Honest trade-offs: it costs roughly $1,000–$1,050 — real money, justified by capacity, pump and cold-weather operation, not by luxury. It’s about 70 lbs and built like commercial equipment (plan a hand truck or a second pair of hands, and the optional remote control is sold separately — annoying at this price). At under 58 dBA it’s a utility-space machine, not something to park under a finished basement’s TV room. And owner ratings are middling — complaints cluster on shipping and support rather than drying power, but read them with eyes open.
Smaller basement? AlorAir’s Sentinel HD55 is the same idea at 55 pints AHAM for spaces up to about 1,300 square feet, gravity-drained, at roughly half the price. If your Step 1 log says “moderately damp, under 1,300 sq ft,” the HD55 is the rational hero and the HDi90 is headroom you may never use.
Step 3B — The portable picks (finished basements)
If your basement is finished living space, or you rent the problem rather than own the foundation, a portable on casters is the right form factor. All three picks below are 50-pint (DOE) class — which, before the 2019 test change, was sold as “70-pint.” Same machines, honest-er labels. Size them with the table in Step 3C, not with the square-foot claims on the box.
Best portable for most basements: Frigidaire 50-Pint (FFAD5033W1)
The default recommendation in roundup after roundup, for boring reasons that matter: Energy Star certified, custom humidity control, low-temperature operation down to 41°F, a front-loading bucket you can actually carry without sloshing, a washable filter, and a continuous-drain outlet for the day you tire of the bucket. Three fan speeds, caster wheels, automatic shut-off when the bucket is full. Street price roughly $279–$349.
Honest trade-off: this model has no built-in pump — drainage is bucket or gravity hose only, so it needs a floor drain within a gentle downhill run. (Frigidaire sells a pump sibling under a different model number; don’t assume it’s in this box.) The warranty is one year, the shortest in this guide.
Biggest tank, quietest run: Hisense 50-Pint (DH5026K1W)
The Hisense’s pitch is capacity and calm: an 18.6-pint (2.3-gallon) tank — the largest bucket in this guide — the quietest low-speed operation here at about 46 dB(A), low-temperature operation down to 38°F, three speeds and three modes, a 24-hour timer, Energy Star certification, and a full 2-year parts-and-labor warranty — double the Frigidaire’s coverage. Roughly $230–$299, the cheapest portable in this guide.
Honest trade-off: there is no Wi-Fi and no app — nobody pings your phone when the bucket is full, and the bucket has no level window, so checking it is a habit you build. No built-in pump either (bucket or gravity hose), and owners report the drain-hose fitting is fiddly to seat the first time. What you get instead is the tank, the quiet, and the warranty.
Best value portable with a pump: hOmeLabs 50-Pint Wi-Fi with Pump (HME1004)
If you need the AlorAir’s key trick — pump drainage — in a portable body at a portable price, this is it. The hOmeLabs pairs a built-in pump with Wi-Fi control, a digital humidity readout, Comfort/Turbo/Continuous modes, auto-defrost, and continuous draining, at roughly $299–$379. For a basement with no floor drain and a sink or sump within pump reach, it’s the cheapest complete answer in this guide.
Honest trade-off: across the whole category, the built-in pump is the part most likely to fail first — if it does, you’re emptying the 1.6-gallon tank (small, so: often) until it’s fixed. Fan noise is honest basement-grade, not quiet-bedroom grade. Buy it for the pump and the price, with eyes open about both.
Step 3C — Size it right: the only table that matters
Manufacturers rate capacity under different test standards, which is why one box shouts 198 pints and another 50 for machines in the same weight class. Ignore the biggest number on any box. Use the current DOE ratings and this table (cross-checked against AHAM-style sizing guidance):
| Basement size | Moderately damp (50–60%) | Very damp (60–70%) | Wet (70%+, condensation / musty) |
|---|---|---|---|
| 500 sq ft | 22-pint | 22-pint | 35-pint |
| 1,000 sq ft | 22-pint | 35-pint | 35–50-pint |
| 1,500 sq ft | 35-pint | 35–50-pint | 50-pint |
| 2,000 sq ft | 35-pint | 50-pint | 50-pint |
| 2,500 sq ft | 50-pint | 50-pint | Whole-basement class (HDi90) |
| 3,000+ sq ft | 50-pint | Whole-basement class | Whole-basement class |
Three sizing rules that save returns:
- Size up one step if the basement has a laundry, a bathroom/shower, or people living in it daily — each adds real moisture load.
- An undersized unit is worse than none, emotionally: it runs 24/7, never reaches target, and convinces you dehumidifiers don’t work. A modestly oversized unit reaches 45–50% and cycles off.
- Placement beats power. Center the unit with ~12 inches of clearance on all sides, doors to side rooms open, and the hygrometer in the far corner. A right-sized unit in a closed corner dries that corner beautifully and the rest of the basement not at all.
Where the water goes decides whether any of this sticks. Bucket = you are the drainage system. Gravity hose to a floor drain (make sure that drain runs clear — our drain unclogging ladder is the five-minute prerequisite) = reliable. Pump = placement freedom, one more moving part. The same floor drain and utility corner serve the water heater you’ll flush once a year — plan the hose runs for both machines at once.
All 4 machines side by side
| AlorAir HDi90 ⭐ | Frigidaire 50-Pint | Hisense 50-Pint | hOmeLabs 50 with Pump | |
|---|---|---|---|---|
| Price | ~$1,000–$1,050 | ~$279–$349 | ~$230–$299 | ~$299–$379 |
| Capacity | 90 PPD AHAM (198 saturation) | 50 PPD (DOE) | 50 PPD (DOE) | 50 PPD (80°F/60%) |
| Coverage guidance | Up to 2,600 sq ft (mfr) | Large basement class | Size by chart, not the 4,500 claim | Size by chart, not the 7,000 claim |
| Drainage | Built-in pump, 14.7 ft lift | Bucket / gravity hose | 2.3-gal bucket / gravity hose | Built-in pump / bucket |
| Low-temp | Down to 33.8°F, auto-defrost | Down to 41°F | Down to 38°F | Auto-defrost |
| Form | Permanent, horizontal, ~70 lbs | Portable, casters, 44 lbs | Portable, 42 lbs, 46 dB(A) on low | Portable, casters, ~47 lbs |
Every row of this table — plus the target dial and the 7-day log — is in the free Basement Humidity Sizing & Tracker Chart (PDF).
Step 4 — Clean up small patches (after the moisture is fixed)
With the basement drying, small surface mold — a patch under the EPA’s ~10 sq ft DIY line, on a non-porous or semi-porous surface — can be cleaned. Work with ventilation, gloves, and eye protection; wet the area lightly so spores don’t puff into the air; and never mix cleaners.
Our text-mention companion for this step is Concrobium Mold Control (32 oz spray): an EPA-registered, bleach-free formula that kills mold at the root as it dries and leaves an invisible barrier intended to help prevent regrowth on drywall, wood, concrete and fabric. Two honest limits: it kills mold but does not bleach away the dark stain (that’s cosmetic, and separate), and spraying anything on a still-wet wall is decoration — the barrier story only holds once Steps 2–3 have the room at target. Porous materials that are saturated through (carpet pad, insulation, ceiling tile) should be removed, not sprayed.
Step 5 — Keep it dry: the habits that hold the number
- Target: 30–50% RH, set the unit to 45–50%. Below 60% is the hard ceiling — sustained 60%+ is mold’s invitation. Chasing below 30% wastes energy and dries wood and skin for no benefit.
- Get storage off the floor and off the walls. Cardboard on concrete is a mold farm — it wicks moisture and feeds growth. Plastic bins on simple shelving, a couple of inches off the wall for airflow.
- Run the unit on its humidistat, not on a schedule in your head. In humid months a basement unit may run daily; in a dry winter it may barely run at all. Let the sensor decide — and glance at the hygrometer when you pass it, the way you’d glance at a thermostat.
- Filter and drain checks, quarterly. A clogged filter strangles airflow; a kinked drain hose quietly turns a continuous unit into a bucket unit that overflows. Five minutes, four times a year — add it to the fall checklist pass and the other three seasons take one line each.
The verdict: which setup is yours?
- You haven’t measured yet: ThermoPro TP55 + the free tracker chart. Fifteen dollars, one week, then decide with data.
- Large, wet, unfinished basement or crawl space: AlorAir Sentinel HDi90 ⭐ — pump drainage, cold-weather operation, set-and-forget. Under ~1,300 sq ft and moderately damp: its HD55 sibling.
- Finished basement, floor drain nearby: Frigidaire 50-Pint — the proven portable, gravity-drained.
- Finished basement, no drain, hate emptying buckets: Hisense 50 — the 2.3-gallon tank, the quietest run in the guide, and a 2-year warranty.
- No drain and the AlorAir is out of budget: hOmeLabs 50 with Pump — pump drainage at a portable price, with the pump caveat understood.
FAQ
What should the humidity level be in a basement?
Between 30% and 50% relative humidity, with 60% as the hard ceiling. The EPA recommends keeping indoor humidity below 60% and ideally between 30–50%, because sustained humidity at or above 60% supports mold growth on its own. Set your dehumidifier to 45–50% — safely under the line, without wasting energy chasing desert air.
What size dehumidifier do I need for a 1,000 sq ft basement?
By the current DOE ratings: a 22-pint unit if it’s moderately damp, 35-pint if very damp, and 35–50-pint if it’s wet (condensation, musty smell, visible moisture). Size up one step for a basement laundry or bathroom. The full table is in Step 3C and on the free chart.
Why is my basement still humid with a dehumidifier running?
Usually one of three reasons: water is actively entering (the unit removes it as fast as it arrives — go back to Step 2), the unit is undersized for the room and its dampness level, or it’s dehumidifying one closed corner while the rest of the basement stays wet. If a correctly sized unit, correctly placed, can’t pull the room below ~55%, the problem is water intrusion, not air — and no dehumidifier fixes that.
How can I reduce basement humidity without a dehumidifier?
Cut what’s coming in and move the air: fix gutters and downspouts (discharge 6+ feet out), re-grade soil away from the foundation, vent the dryer and bathroom outside, lid the sump pit, cover bare earth with plastic, insulate sweating pipes, and run a fan to break up stagnant corners. Stacked together these hold a moderately damp basement under 60% — they support a dehumidifier, they rarely replace one in a wet basement.
Does a dehumidifier kill mold?
No — and any product page implying otherwise is overselling. A dehumidifier removes the moisture mold needs, which prevents new growth and stops existing colonies from spreading. Mold that’s already there must be physically cleaned or removed (small patches per Step 4; large areas are a professional job), or it will simply wait for the next humid week.
Should I run my dehumidifier all the time?
Run it whenever the space would otherwise sit above your target — which, in a humid summer, can be most of the day. That’s what the built-in humidistat is for: set 45–50% and let the unit cycle itself. Continuous bucket-emptying is the failure mode to engineer away (gravity hose or pump), because a unit that shuts off full at 2 a.m. protects nothing.
What’s the fastest way to reduce humidity in a basement?
For a fast drop: a properly sized dehumidifier set to 50%, centered with clearance and doors open. For a lasting drop: the same unit after the free exterior fixes — gutters, downspouts, grading — because fast isn’t fixed if the humidity climbs back every time it rains.
What does “50-pint” mean if my old unit said 70-pint?
The test changed, not the machine. In 2019 the DOE lowered the test temperature to better match real basements, and the same hardware that rated 70 pints under the old test rates about 50 under the new one. Compare only ratings from the same standard — and be suspicious of any headline number that doesn’t name its standard, like the “198-pint” saturation figure on crawl-space units (real, but measured at 90°F and 90% humidity).
What’s the free sizing & tracker chart?
A one-page PDF with the DOE sizing table, the 30–50% target dial, a 7-day hygrometer log (morning/evening, near and far corners), and the Step 2 source checklist. Download the Basement Humidity Sizing & Tracker Chart (PDF)
Read next: Fall Home Maintenance Checklist · How to Flush a Water Heater · How to Unclog Any Drain