This article contains affiliate links. If you buy through them, we may earn a commission at no additional cost to you. As an Amazon Associate I earn from qualifying purchases.
A successful paver sealing project starts before the sealer comes out. On an existing patio or driveway, the main work is often clearing the area, cleaning the surface thoroughly, checking the joints, and allowing the materials to reach the condition required by the selected products. Sealing over a poorly prepared surface can leave you with visible stains, uneven results, or a coating that needs corrective work.
This guide covers interlocking concrete pavers. It explains how to plan surface preparation, including pressure washing where appropriate, before restoring joints and applying a compatible sealer. Natural stone, clay brick, porcelain, and permeable paving systems may need different materials and methods.
Watch the Guide
The project at a glance
- Inspect the pavers, drainage, joint material, and any existing coating.
- Choose the cleaner, joint material, and sealer as a compatible system.
- Clear the area, treat stains, and clean the surface evenly.
- Pressure wash carefully if the paver manufacturer permits it.
- Check the cleaned surface, allow drying as required, and restore joints if necessary.
- Test the finish, apply at the specified rate, and protect the area through curing.
Do not treat these as steps that must all happen in one day. Washing, drying, joint repair, sand curing, and sealing can require separate weather windows. Read the product instructions before scheduling the work.
1. Inspect the surface before buying supplies
Walk the entire area and look beyond its color. Are pavers loose or uneven? Does water collect in low spots? Is joint sand missing? Do you see oil marks, rust, white mineral deposits, or a coating that is peeling or turning cloudy? A sealer changes or protects the surface; it does not level sunken pavers, fix drainage, or make structural repairs.
Ask whether the area has been sealed before and, if possible, find the previous product name. Do not assume that a water-based product can go over any old coating, or that a solvent-based product is automatically the correct repair. If the existing treatment is unknown or failing, get compatibility guidance before adding another layer.
2. Choose the sealer and plan the weather window
Decide how much you want to change the appearance. Natural-look products aim to keep the visual change limited; color-enhancing or wet-look products can darken the surface and add sheen. Some formulas also stabilize joint sand. Compare the technical sheet for the exact material, application method, moisture requirements, coverage, temperature limits, rain window, and cure times.
For pool decks, steps, and wet walking areas, consider traction as well as appearance. Ask the manufacturer whether the selected finish is appropriate and whether an approved traction additive is needed. Do not add an unrelated product to the sealer or assume a glossy finish will perform the same way as the unsealed surface.
One option to compare is Ghostshield Siloxa-Tek 8500 Ready to Use, 1 gallon. The manufacturer lists concrete pavers among its suitable surfaces and describes a water-based penetrating sealer with a natural finish. It is not a wet-look coating or the same formula as the concentrate. Confirm compatibility with your pavers and previous treatments before buying.
How much paver sealer do you need?
Measure each section in feet: length × width = square feet. Add the sections, then use the coverage for the exact sealer and surface. If coverage is stated per coat, calculate: gallons needed = area × required coats ÷ square feet covered per gallon. If the label gives coverage for the complete treatment, do not multiply by the coat count again.
For the ready-to-use Siloxa-Tek 8500, Ghostshield’s product guidance lists up to 250 sq ft per US gallon per coat and requires two wet-on-wet coats. Using that reference rate, one gallon treats about 125 sq ft (11.6 m²) for the full two-coat application. This is a planning example, not a guaranteed yield or industry average.
| Paver area | Calculated gallons, two coats | Whole 1-gallon containers |
|---|---|---|
| 300 sq ft | 2.4 | 3 |
| 600 sq ft | 4.8 | 5 |
| 900 sq ft | 7.2 | 8 |
| 1,200 sq ft | 9.6 | 10 |
Example: a 20 × 30 ft patio is 600 sq ft; 600 × 2 ÷ 250 = 4.8 gallons, rounded to five 1-gallon containers before any extra allowance. Actual consumption varies with porosity and texture; the manufacturer also publishes a broader two-coat range of 75–200 sq ft per gallon. Estimate from a test patch and confirm the current label. Calculate cleaner and joint sand separately.
Tools and materials
- A broom or blower, a cleaning brush, hose, and a cleaner compatible with the pavers and the stains present. Check the brush material against the paver manufacturer’s cleaning instructions.
- A pressure washer with suitable pressure control and spray options, if approved for the surface.
- Compatible replacement joint material, only where the joints need it.
- The chosen sealer and the roller or sprayer specified by its manufacturer.
- Gloves, eye protection, footwear, and any additional protection specified by product labels and safety data sheets.
- Protective sheeting or masking for adjacent surfaces, plus a way to keep people and pets out of the work area.
3. Prepare the work area and treat stains
Move furniture, planters, rugs, and other objects so the entire area can be cleaned and inspected. Sweep or blow away loose debris. Identify where rinse water will travel and protect nearby surfaces and plants as directed by the cleaner manufacturer. Plan runoff handling in accordance with product instructions and local requirements.
Treat stains before the main wash. Oil, rust, organic staining, and efflorescence may need different cleaners; a general wash is not a promise that every mark will disappear. Use the correct product for the stain and paver material, test a discreet spot, and follow dilution, dwell, rinsing, and safety directions. Do not mix cleaning chemicals.
4. Pressure wash before sealing: surface preparation matters
For an existing patio or driveway with accumulated dirt and grime, pressure washing can be a useful part of preparation before sealing. The goal is a clean, consistent surface—not the highest possible pressure. First check the paver manufacturer’s cleaning instructions, particularly for older, weathered, or coated pavers.
Start with a test area
Use a low setting and a wide spray pattern, then assess a small, discreet area. Concentrated pressure can damage the paver face and remove joint sand. If you see surface damage or significant joint erosion, stop and reassess the method rather than continuing across the patio.
Clean methodically and inspect as you go
Work in manageable sections so you can track what has been cleaned. Avoid lingering on one spot or directing a concentrated stream into the joints. Follow the equipment instructions for nozzle selection, working distance, and operation; there is no universal PSI setting that is suitable for every paver installation.
Where a pressure washer fits in the supply list
If you need a pressure washer for this project, compare models by controllable cleaning performance, nozzle options, hose reach, water-supply requirements, and compatibility with any planned attachment. Buying, renting, or using equipment you already own are all options. A larger machine is not automatically a better match for your pavers.
5. Inspect after washing and allow the required drying
After rinsing, inspect the whole area again. Cleaning may reveal damage, persistent stains, or joints that need attention. Resolve remaining residue before sealing rather than hoping the coating will hide it.
Check the moisture requirements for your sealer and joint material. The paver face may look dry before the joints or shaded areas are ready. Do not promise yourself a fixed next-day sealing schedule: weather, shade, drainage, and the selected product all matter. Where the manufacturer requires a moisture check, follow its method.
For Siloxa-Tek 8500 Ready to Use, the manufacturer’s application instructions specify at least 24–48 hours after washing or rain, a thoroughly dry surface, and surface-zone moisture no higher than 4% by weight. Elapsed time alone does not establish readiness.
6. Restore joints where necessary
Check whether the installation uses conventional joint sand, polymeric sand, or another specified aggregate. Replace missing material with a compatible product and follow its installation requirements. Permeable paving systems need their specified joint aggregate; do not substitute fine sand just because it is easy to find.
If you use polymeric sand, follow its directions for joint dimensions, compaction, removal of surface residue, activation, and curing. Confirm the required interval before sealing with both the sand and sealer manufacturers. A sealer that stabilizes sand does not automatically replace joint repair.
7. Test the finish and apply the sealer
Apply a small test patch using the actual product and method planned for the job. Let it reach the assessment stage specified by the manufacturer, then evaluate color, sheen, and suitability for the area. If you dislike the test, stop before treating the full surface.
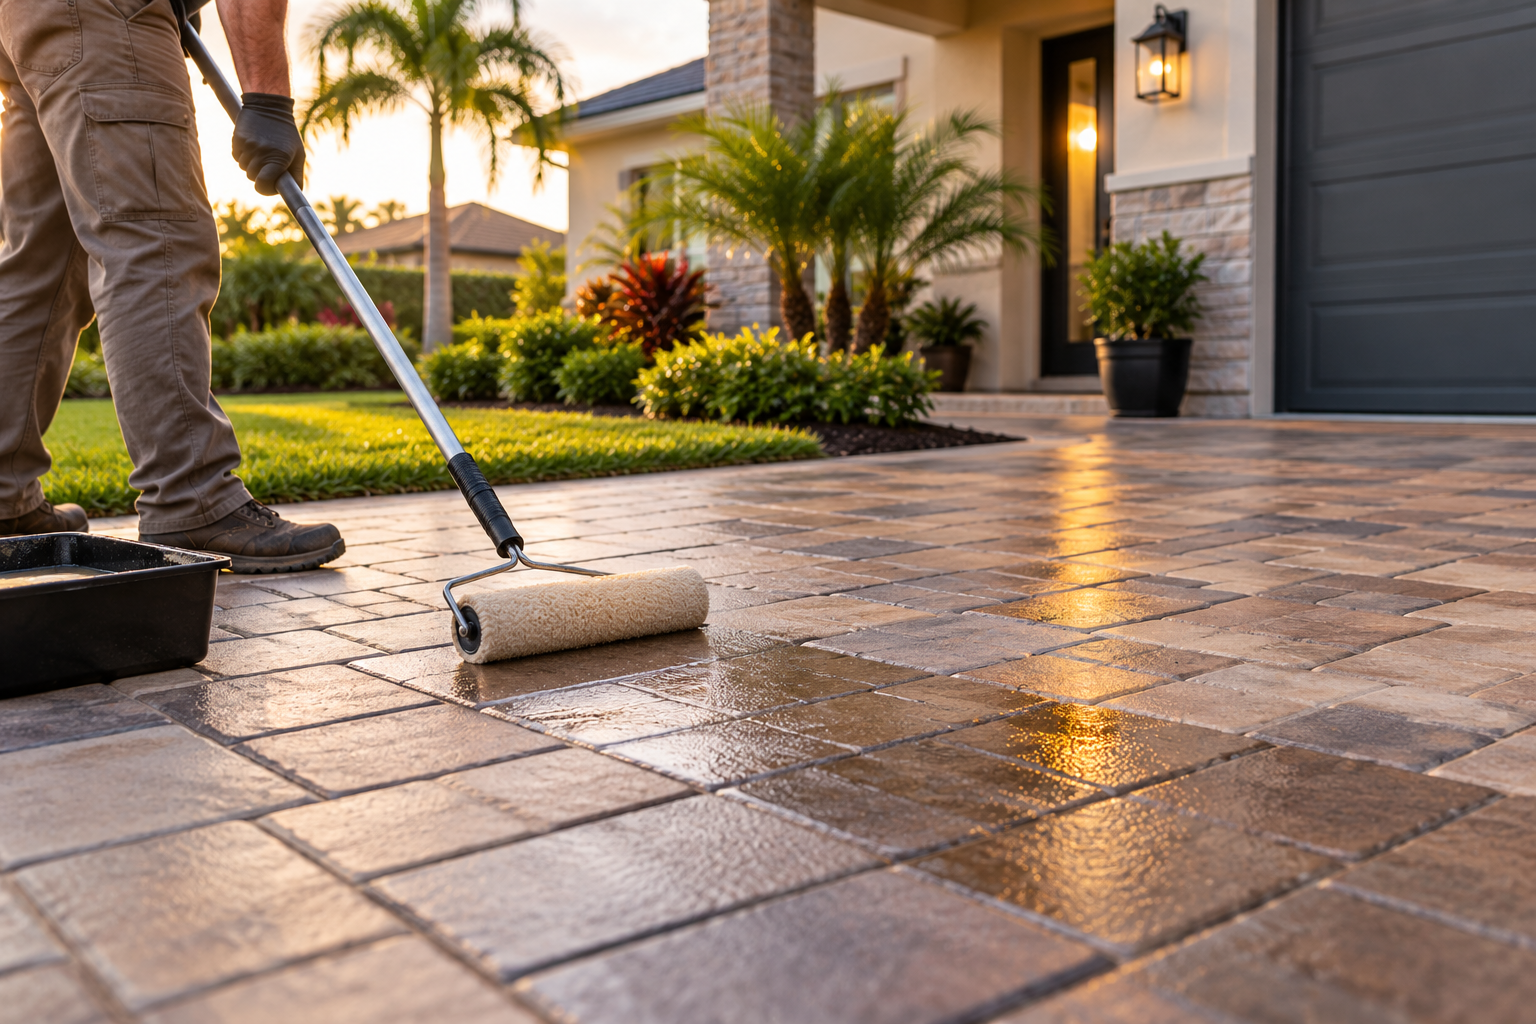
Recheck the forecast and surface conditions on application day. Protect adjacent surfaces, establish a workable route out of the area, and use the specified applicator and application rate. A roller kit or sprayer is an option only if the sealer manufacturer approves that application method and the tool’s materials are compatible with the formula. These are alternatives; you do not necessarily need both. Follow the label for coat count, recoating intervals, and any back-rolling or joint saturation. Avoid excess coating and puddles; more product is not a substitute for correct preparation.
With Siloxa-Tek 8500 Ready to Use, work in sections of about 100 sq ft and apply the second coat while the first is still wet. Stir well and do not dilute this ready-to-use version. For rolling, its instructions specify a 3/8-inch nap; spraying requires a compatible low-pressure applicator. Spread excess material rather than leaving puddles.
8. Protect the area while it cures
Keep traffic and other exposure off the surface for the specified times. Foot traffic, furniture, vehicles, water exposure, and full cure can have different requirements. A surface that feels dry is not necessarily ready for a car or a heavy planter.
Keep the product name, technical sheet, application date, photos, and approximate amount used in your project record. This makes future cleaning and recoating decisions easier and helps a professional identify the existing treatment.
Common questions
Can I pressure wash and seal on the same day?
Do not plan on it unless the complete product system and actual site conditions allow it. Washing adds moisture, joint restoration may add another curing stage, and the sealer may require a different surface condition. Build the schedule around the labels rather than a convenient deadline.
Do all pavers need sealing?
No. Sealing is an optional treatment for many concrete paver installations. Decide whether the desired finish and maintenance benefits justify the project, and confirm that the paver manufacturer permits the selected product.
When should I bring in a professional?
Get an assessment for recurring standing water, widespread movement, substantial joint problems, persistent efflorescence, or a failing old coating. A large project with uncertain previous treatments can involve more corrective work than a first-time DIY application.
Final check before opening the sealer
- The surface has been inspected, cleaned, and rinsed without unresolved residue.
- The pavers and joints meet the selected products’ moisture and curing requirements.
- Necessary joint work is complete and compatible with the sealer.
- The test patch is acceptable for appearance and the intended use.
- Weather and access arrangements cover application and curing.
- You have the right applicator, protective equipment, and enough product for the specified treatment.
Sources and product instructions
This guide refers to the Concrete Masonry & Hardscapes Association’s guidance on cleaning, sealing, and joint-sand stabilization, operation and maintenance guidance, and paver patio care guidance. Use the current instructions for your exact pavers, cleaner, joint material, sealer, and equipment. Product-specific instructions take precedence over the general sequence here.